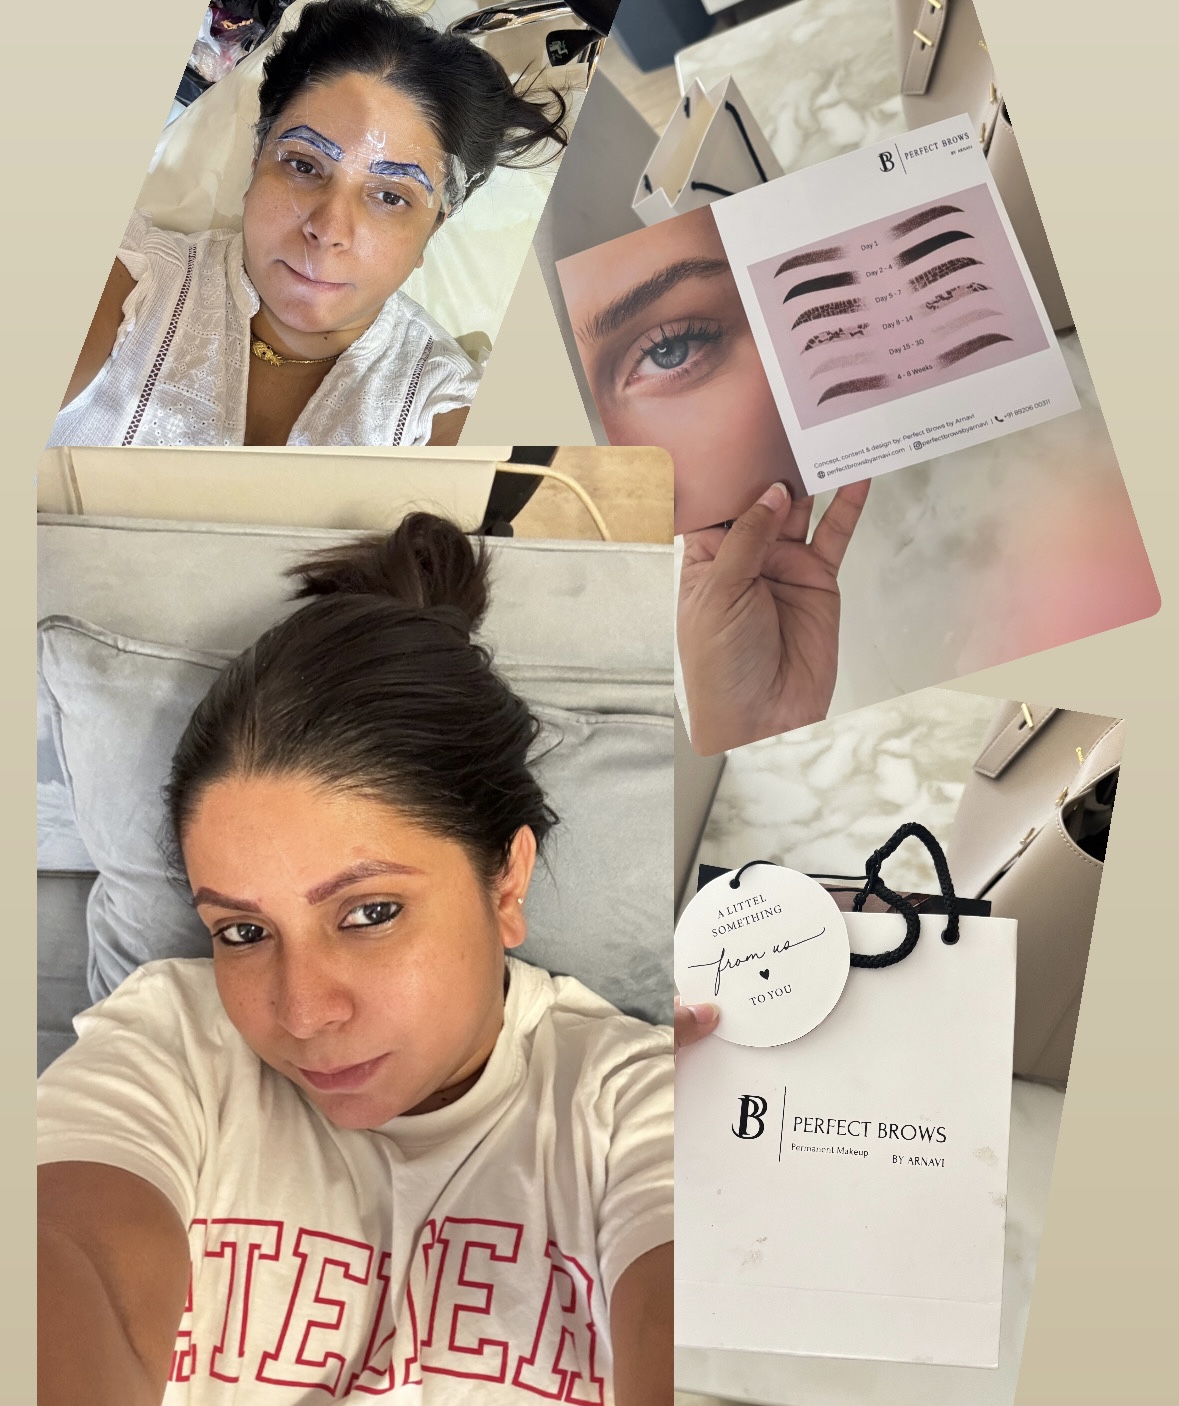
For as long as I can remember, I’ve had very light eyebrows with very little hair growth. Filling them in became part of my routine before stepping out of the house. It wasn’t something I hated doing, but I always wanted fuller-looking brows because they completely change the way I look. I simply like my face better with fuller brows, so I started looking for something that could give me a better look than what I get from an eyebrow pencil.
I came across Semi-Permanent eyebrow treatment on Instagram through a reel where Aditi Rao Hydari was getting the procedure done. Until then, I had no idea what it actually involved. Like many people, I assumed it meant injecting chemicals into the skin, and honestly, that made me nervous.
The more I read about it, the more I realised it wasn’t as scary as I had imagined. Microblading, Nano brows and Ombre brows are all parts of Semi-Permanent eyebrow treatment also known as cosmetic tattooing where tiny hair-like strokes are created using a tool, and pigment is deposited into the upper layers of the skin. The result is fuller, more defined brows that still look natural.
I live in Noida, and honestly, I don’t think we have too many good options here when it comes to procedures like this. Luckily, I found Arnavi from @perfectbrowsbyarnavi on Instagram.
I was honestly a little nervous before going because I kept thinking, What if I end up looking like Bert from Sesame Street?
Thankfully, my consultation answered almost everything. So if you’re considering any type of Semi-Permanent eyebrow treatment, here’s everything I wish I had known beforehand.
What exactly is Semi-Permanent eyebrow treatment?
There are different types of Semi-Permanent eyebrow treatments, each offering a different finish. Microblading uses a manual blade to create natural hair-like strokes, Nanobrows use a digital machine for finer, more precise strokes, and Ombré Brows use a machine to create a soft, shaded, makeup-like finish. Since I wanted a very natural-looking finish, I opted for Nano Brows + Ombré Brows (also known as Combination Brows).
What happens on the day of your appointment?
I was asked to avoid coffee and alcohol before my appointment.
The entire procedure took about an hour. Before starting, a numbing cream was applied to my eyebrows and left on for some time.
Once my brows were numb, the artist carefully mapped the shape based on my face and natural brow structure. She then used extremely fine needles to create tiny hair-like strokes wherever my brows were sparse. Pigment was deposited into those strokes to give the appearance of naturally fuller brows.
Was it painful?
If you’re wondering about the pain, I’d rate it 3 out of 10.
The numbing cream worked really well. I could feel the movement and a light scratching sensation, but it was nowhere near as painful as I had imagined.
Would my brows look fake?
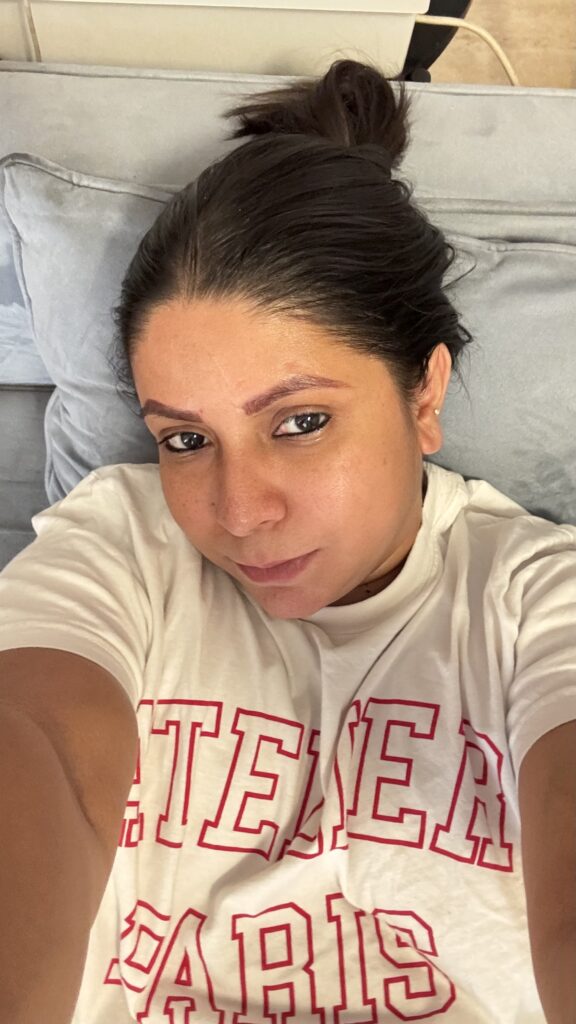
Immediately after the procedure, my brows looked darker than I expected (check the image above). But they didn’t look unnatural—more like I had filled them in with a darker eyebrow pencil.
How were the first few weeks of healing?
This was probably the part I was least prepared for.
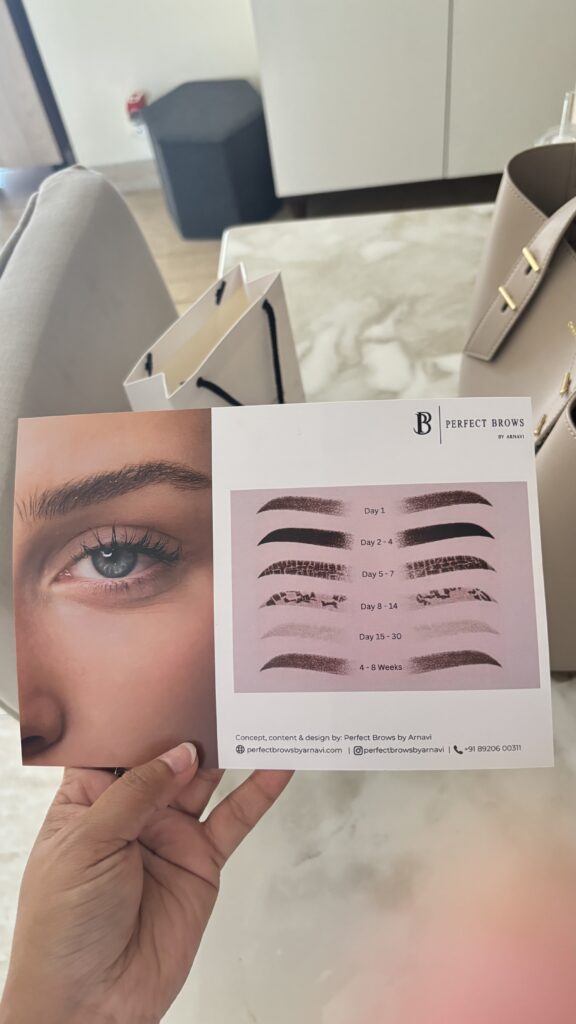
On day one, my brows felt slightly sensitive because of the tiny needle strokes. Over the next few days, they got a little darker compared to the first day.
Around one week later, I noticed some itching around my eyebrows. It wasn’t severe—just enough to remind me they were healing. Peeling also started, but surprisingly, it was so subtle that I barely noticed it happening.
Then came the ghosting phase
By week three, I honestly thought the pigment had disappeared. My brows looked much lighter, and for a moment I wondered if the treatment had worked at all.
This stage is known as the ghosting phase, and it’s completely normal. As the skin heals, the fresh layer temporarily hides the pigment underneath, making the brows appear much lighter than they actually are.
After 15 days, I was told to apply sunscreen on my brows and avoid swimming and prolonged sun exposure.
Then, around week four, the pigment slowly started coming back, just as my brow artist had explained.
What’s after Care look like?
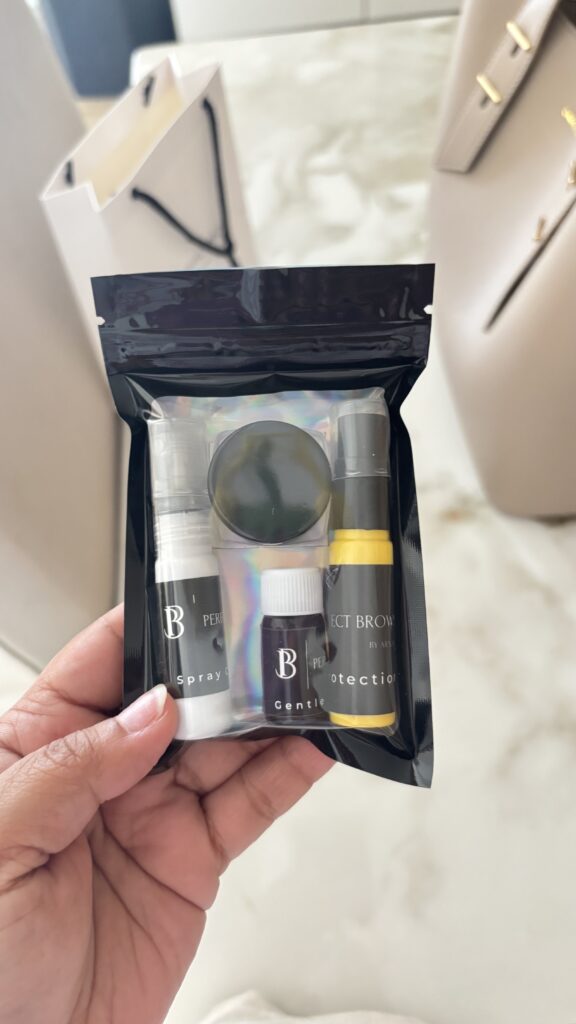
I was given a healing routine to follow for the first 15 days. Before washing my face, I had to apply a protective gel over my brows. Afterwards, I gently cleaned them with the cleanser provided and finished by applying a healing balm (all provided by Arnavi).
What will happens in the second session?
That’s where I am right now.
My touch-up appointment is scheduled for 27th July. During this session, Arnavi will check how my brows have healed, fill in any areas where the pigment didn’t retain well, make small corrections if needed, and slightly deepen the colour. This touch-up helps the results last longer and ensures both brows heal evenly.
I’ll update this blog once the second session is done.
How much did it cost?
Now, that’s something you all must be looking for.
The procedure cost ₹16,500, which included the on call consultation, the Nano + Ombré brows appointment, the aftercare products, and the touch-up appointment scheduled next week.
Was it worth it?
So far, I’d say yes.
If you’re thinking about getting it done, my biggest advice is this— do your research, choose an experienced artist, and understand that healing is a journey. Your brows won’t look the same every day, and that’s completely normal.
I’ll be sharing another update after my second session with my final results and whether I’d do it again.